How to set up an email account on an Android device
So you’ve created your mailbox and now you want to setup your email account on your Android device. Let’s dive in and go through the setup.
Check that you also have the required services above. If you are missing any or you’re unsure, call our team on 0345 363 3632.
Info: If you already have an account setup within the Email app, you will need to use the alternative method to add a new account.
Step 1
Firstly, let’s start by opening the Email application.

Step 2
If you have not used the Email app before, you will have the option to Add New Account. If you already have an account setup, please use the alternative method shown at the bottom of this guide.

Step 3
On the next page enter your Email Address and Email Password, and choose Manual Setup.

Step 4
Choose the option for IMAP.

Step 5
Now enter your Email Address as the Username and complete the Incoming Server settings as shown below.

Step 6
Scroll down and enter the Outgoing Server settings – once again you will need to use your Email Address and Email Password.
Note: In order to use our outgoing mail server you will need to have the Authenticated SMTP add-on product. Please see the following link for further information: https://www.names.co.uk/support/articles/what-is-authenticated-smtp/
Once you have entered this information tap Sign In

Your email account will now be setup.
Alternative method to add a new account
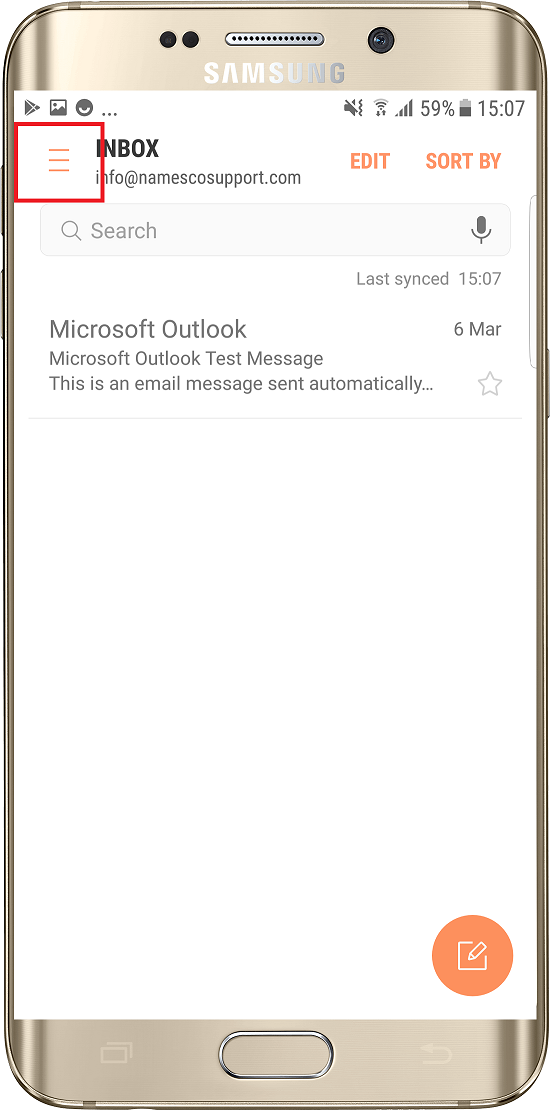
Firstly tap the Menu icon at the top left corner of the screen.

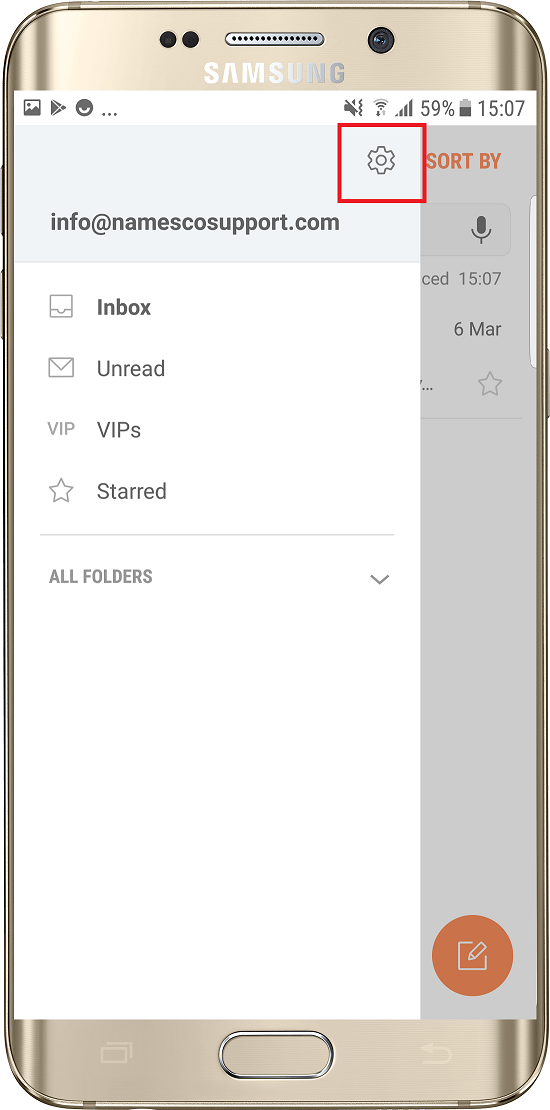
Next tap the Settings cog.

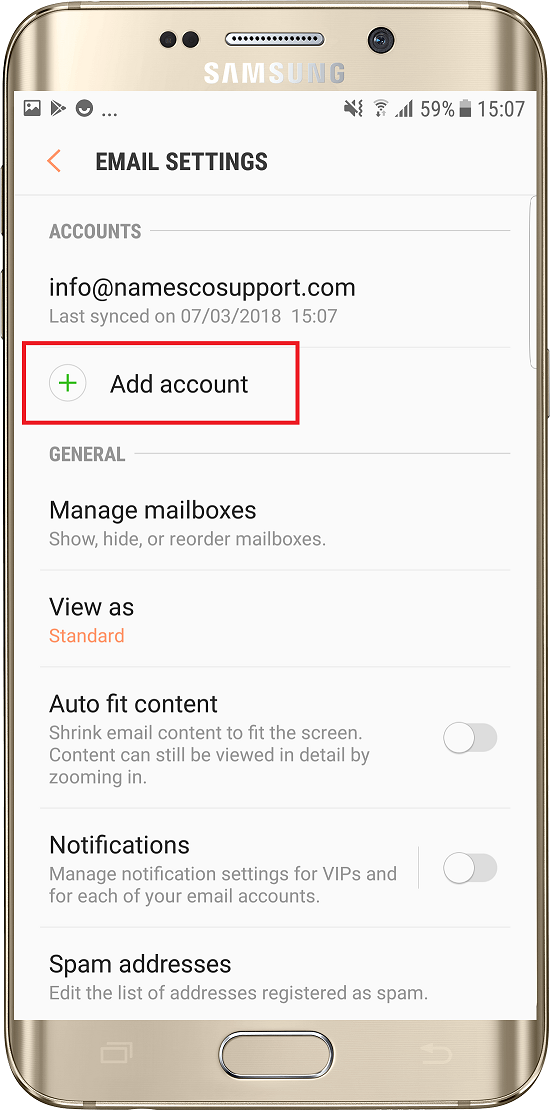
Select the option for Add New Account.

You can now follow the instructions above to setup a new email account.