Accessing DNS histories and Snapshots
Introduction
Through your Online Control Panel, you have full access to make any needed DNS changes. Sometimes mistakes can be made, and wrong entries can be entered causing your website or email to go down. We include a DNS history and snapshots area in the DNS section of your Online Control Panel that allows you to revert to previous DNS snapshots and also see what the DNS zone looked like before the changes we made.
This guide will show you how to access this and restore records to a previous state.
Table of Contents
- Accessing your Online Control Panel
- Finding your DNS section
- Enabling Domain Proxy
- Viewing DNS history
- Restoring from previous DNS snapshots
Step One
Navigate to our website names.co.uk
Once on the website, choose “Log in” found on the top right-hand side of the page and log into your Online Control Panel. If you need assistance with this, please follow this guide.
Step Two
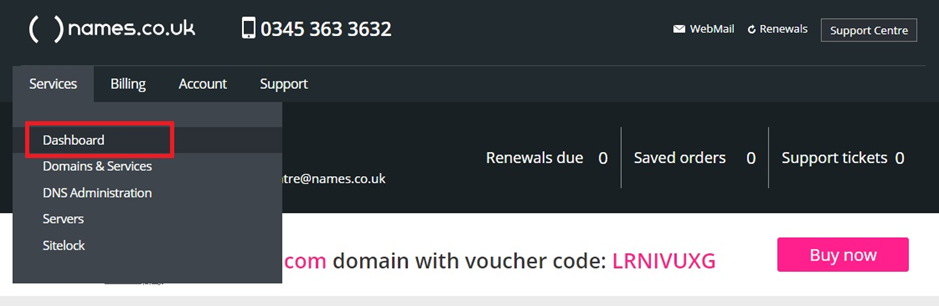
Once you have successfully logged into your Online Control Panel, navigate to the “Services” tab and from the drop-down menu choose “Dashboard”.
Step Three
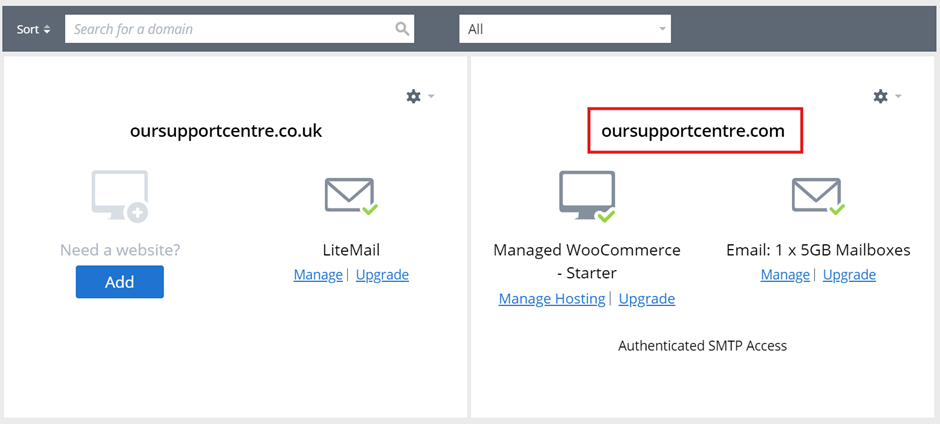
The page that loads will show a list of your domain names. Choose the domain name you are looking to make DNS changes to
Step Four
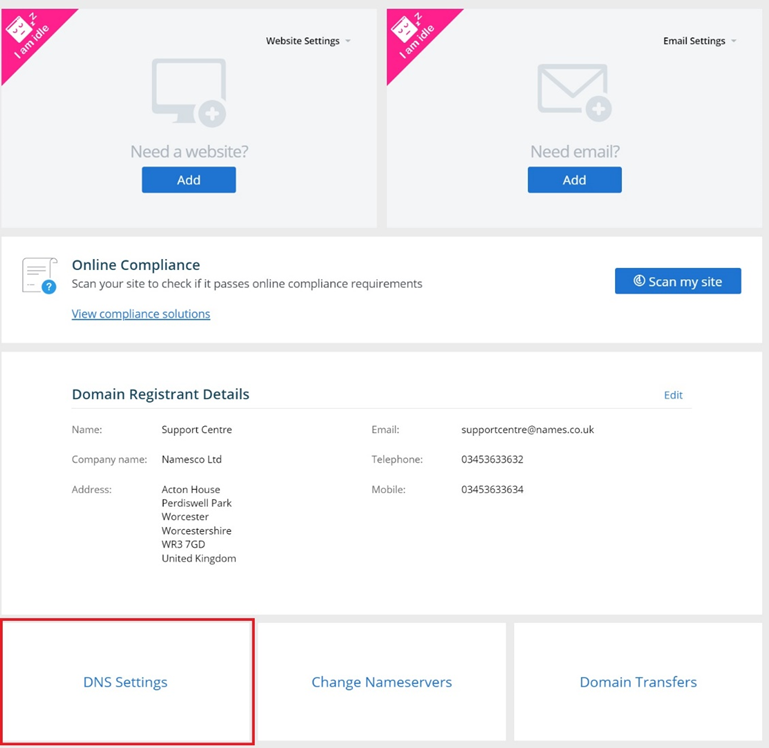
If you navigate to the bottom of the page, you will see a section called “DNS Settings”. Select this option.
Step Five
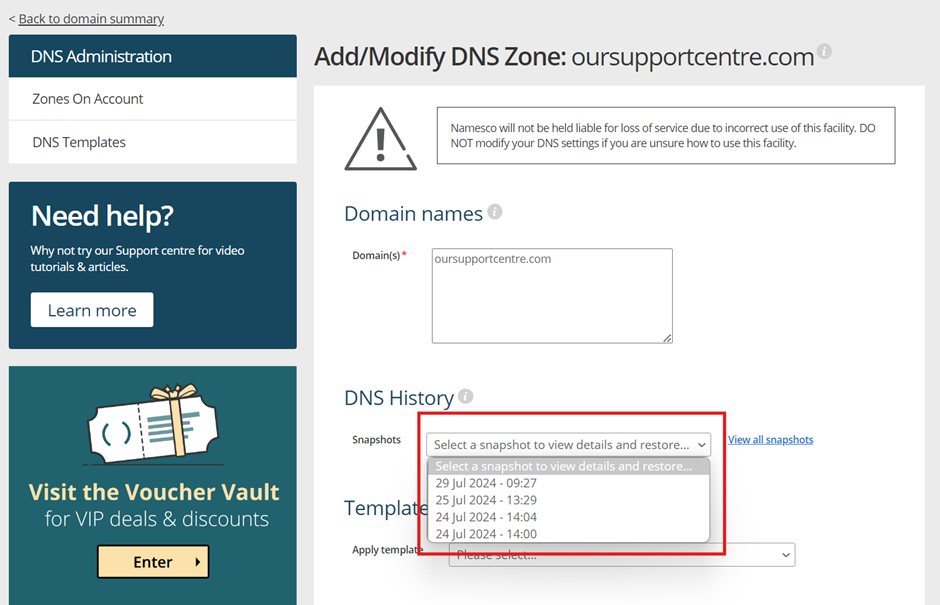
When you are on the “Add / Modify DNS Zone” page you see a section called “DNS History” and a drop-down list of “snapshots”. If you have made any changes recently, they will be visible when selecting the drop down along with the time and date the changes were made. If no records are visible, this will be because no changes were made in the time scale that the snapshots will record. If this box is also greyed out, it is because you do not have Domain Proxy enabled on your domain name. To enabled this please follow the guide here.
Step Six
You now have the option to choose a snapshot from the drop-down list or select the option for “View all snapshots”.
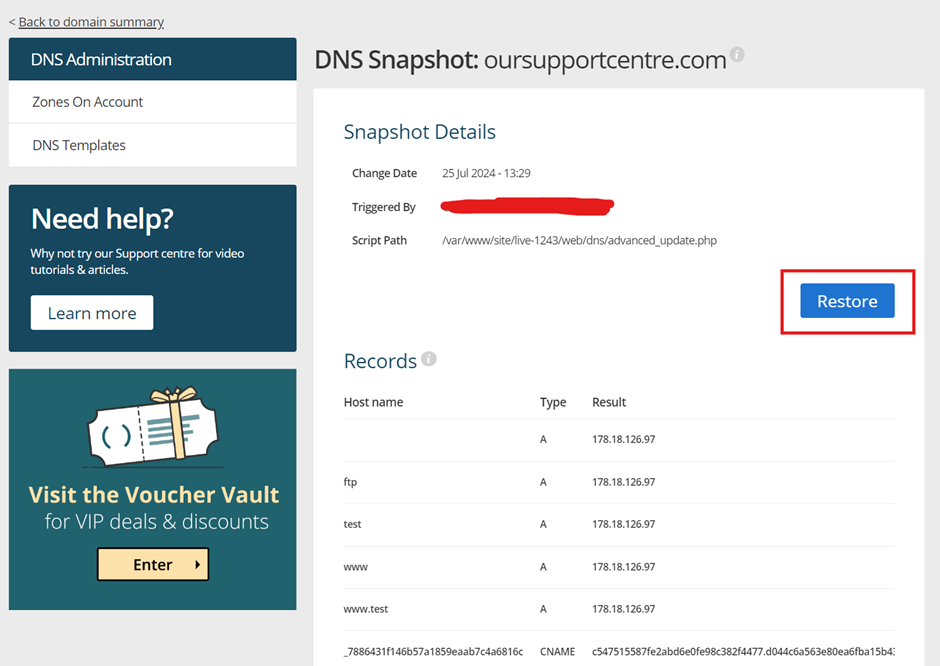
Selecting a snapshot from the drop-down list will present the state of the DNS when that snapshot was taken. You’ll also have the option to restore the DNS to this snapshot.
Selecting “View all snapshots” will present you with a list of the DNS history. Selecting each record individually will then allow you to restore the DNS.
Please allow up to 24 hours for any DNS changes to take effect, unless you have lowered your Time to Live (TTL) then this will be lower. You can amend your TTL by following the guide here.
If you have any further questions, simply raise a support request from within your Online Control Panel or call us on 0345 363 3634. Our Support team are here to help and ready to assist you with your enquiry.
For assistance raising a support request please follow the following guide.