How to add a new section in Website Builder
Info: This article applies to Website Builder purchases made before 14th January 2025. For further assistance, please contact our support team.
The templates that come bundled with Website Builder each contain all the features and layouts that we consider best suit that type of website. Sometimes though, you may find yourself in need of a particular type of layout or feature that isn’t part of the template.
Luckily there are a vast number of pre-built sections that can be added when you build your website, to any part of a template. These make it far easier for you to create your perfect website with just a few mouse clicks.
Here we’ve used the “Academic” template for our website but we want to add a contact form underneath the main picture. To do this hover over the row where you would like the new section to be and you’ll see a blue + icon.
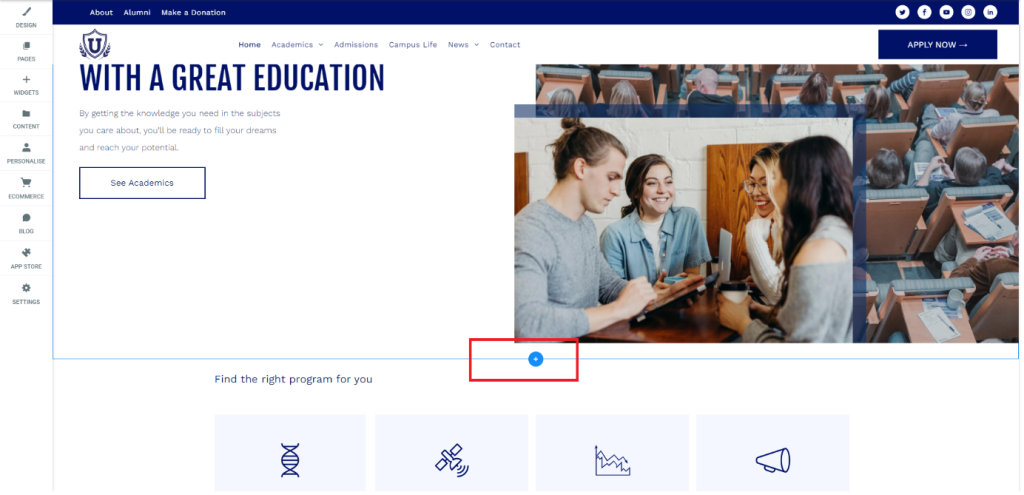
Hover over that blue + icon and it will change to say Add Section.

Click on that and you will then see a new menu that shows the various categories for the sections.
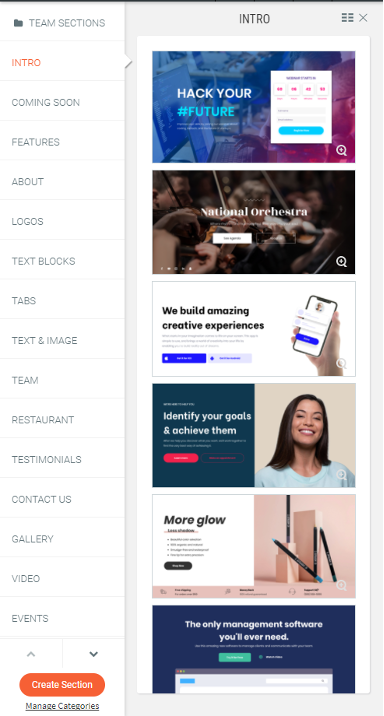
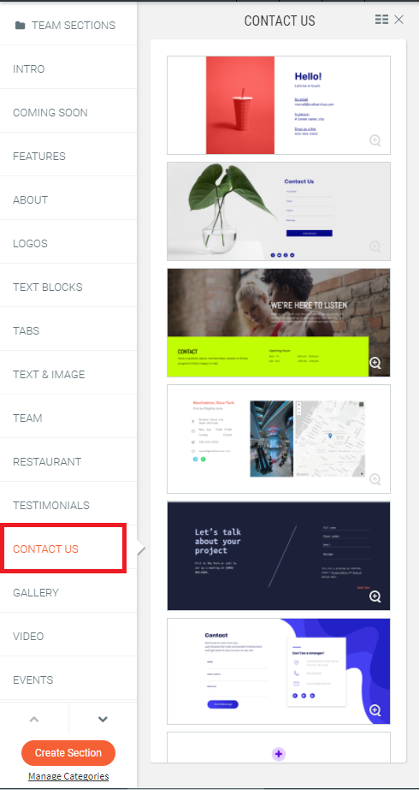
We want to add a contact form so we’ll go ahead and click on the Contact Us category. You’ll see that the sections down the right will then update just to display the ones that are based around contact forms.
You can click on each one to see what it looks like. When you have found the one you want to use click on the orange Save button in the top right corner.
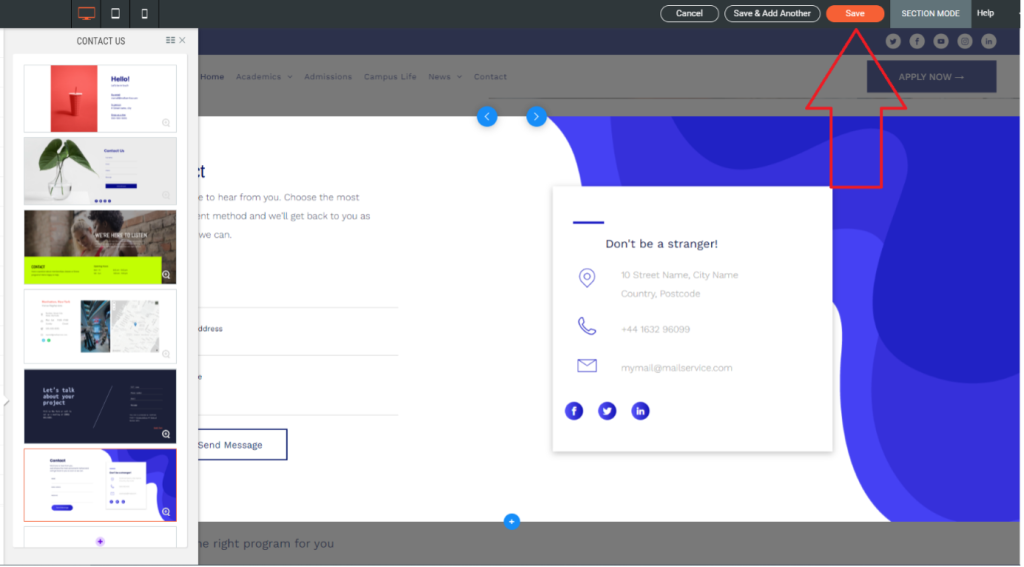
This will then add that section into the row that we selected earlier when we first opened up the section browser, which in our case was just below the main image of the website.
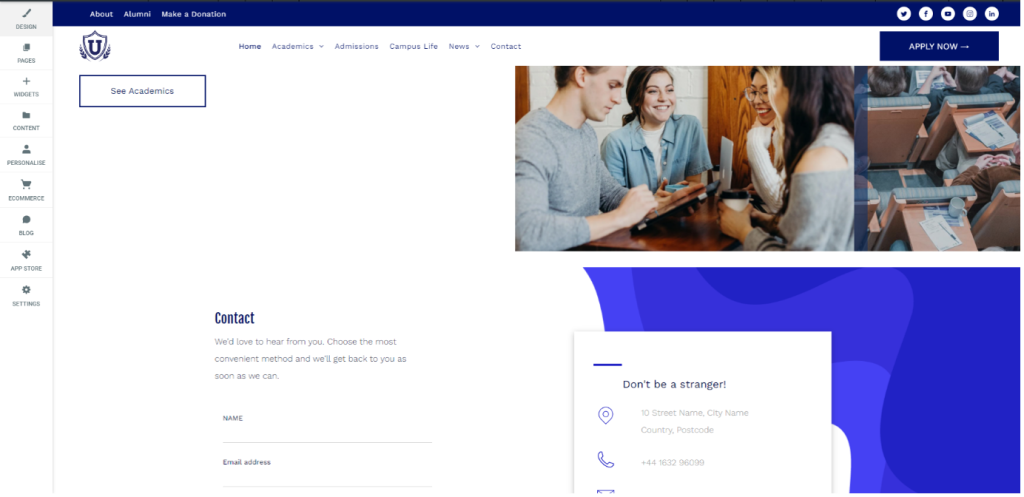
Using sections, you can very quickly create an attractive website that has all the features and design elements that you need. For example, there are sections designed around testimonials, videos, galleries or text blocks which will save you the trouble of having to manually create those elements yourself.