How to add a Zoom Meeting to Website Builder
Info: This article applies to Website Builder purchases made before 14th January 2025. For further assistance, please contact our support team.
In today’s world, more and more people are meeting virtually rather than face to face. Website Builder allows you to easily add a Zoom widget to your website that will allow visitors to join a Zoom meeting you have created.
The first step is to go to the Zoom website and schedule a meeting. If you’ve not done this before then you’ll first need to create an account on the website before it will let you arrange the meeting.
For assistance with setting up on a meeting on the Zoom website, visit their Knowledge Base
Once the meeting has been scheduled you can then add a widget to your website that allows people to join it.
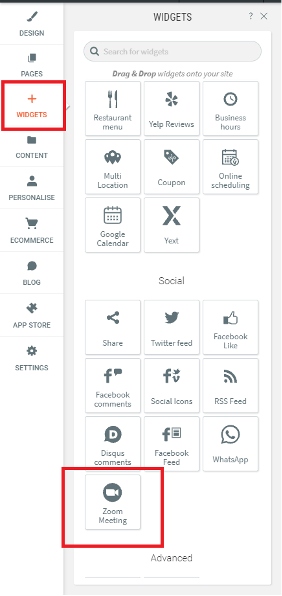
Click on the Widgets link within the Website Builder editor and then look for Zoom Meeting. It’s located within the Social category, or you can use the search bar at the top to quickly find it.

Click and drag the widget over to the place on the page you would like it to appear. You’ll see it snap into place and a pop-up window will appear that allows you to configure it.

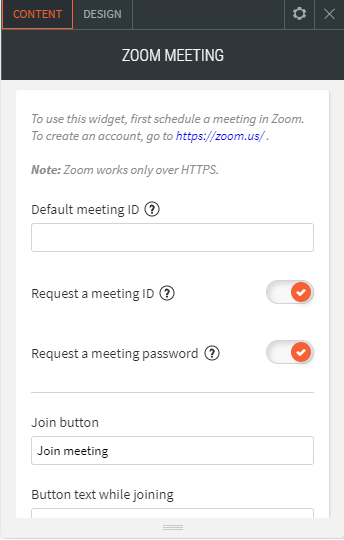
Default Meeting ID: type the default meeting ID for recurring meetings. To allow visitors to type a unique meeting ID, leave this blank. Type a meeting ID if you are registering for a known event so that your customers do not need to enter it themselves.
Request a meeting ID: If there is a default meeting ID for recurring meetings, disable this option.
Request a meeting password: Go to Zoom to control whether the meeting requires a password or not. Ensure you have a way to communicate the password with your customers if you require one.

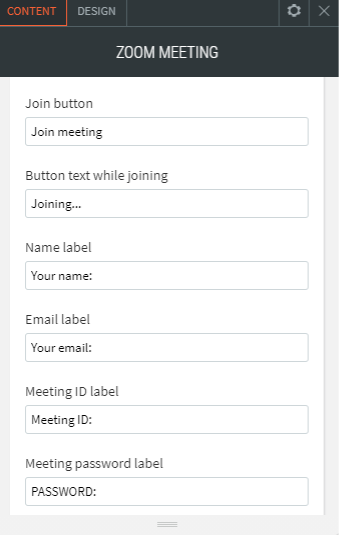
The next step is to configure the labels of the buttons and text boxes that will appear. The default labels should be sufficient for most Zoom meetings so you may not want to change them too much.
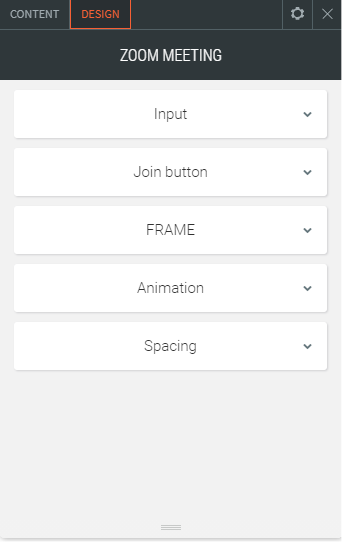
On the Design tab at the top there are various sections which allow you to customise the look and feel of the widget, such as the font used for the text, the colour and style of the buttons, or the space between each field.
