How to Change Your Logo
Info: This article applies to Website Builder purchases made after 14th January 2025. For further assistance, please contact our support team.
In this article, you will learn how to set up and configure your logo for your project.
Getting Started
To get started, you first need to log into the web builder through your Online Control Panel. Unsure how to do so? Follow our guide HERE
Step One
Click on the logo area in the top left to add your own text or logo. Simply click on Add Logo to upload your image.

Step Two
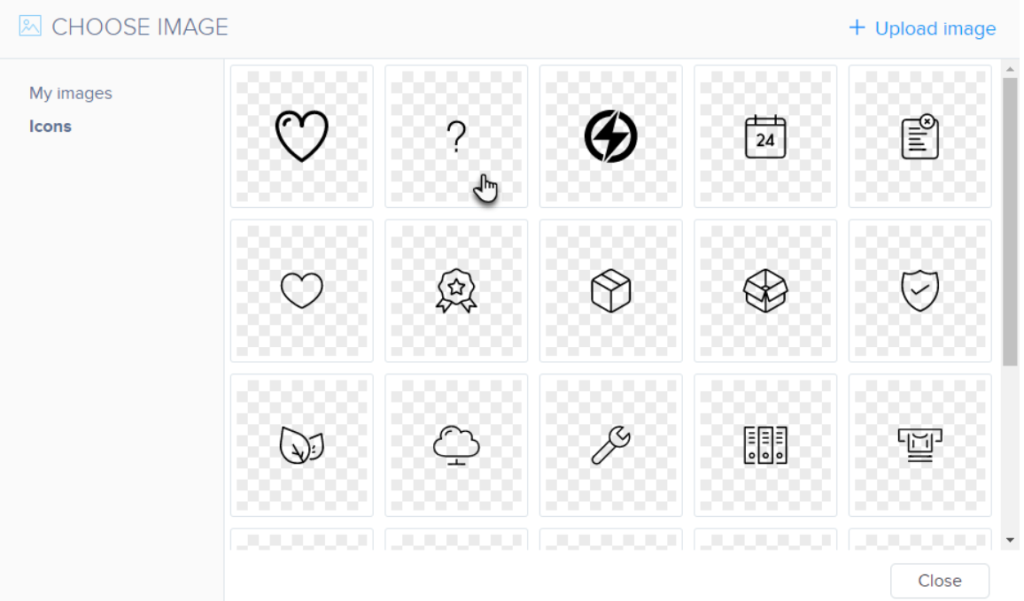
Select an icon from the menu or click Upload Image to add your own.

Step Three
Click the Logo button if you want to edit the logo image.

Step Four
In the area you can Change or Remove a logo image. You can also change the Logo size.
You can click Format to edit the logo description and its overall design.

Here, you can customize the Font, Style, and Size. By clicking on Slogan, you can choose to enable, disable, or show the slogan only on the home page.

You can adjust the text and format of the slogan here also.

TIP: When using a .png image with a transparent background, ensure that it is roughly the same size as the logo displayed on the page (this may vary depending on the template). If the image is too large, the editor will create a smaller preview, which can result in the loss of transparency.
If you have any further questions, simply raise a support request from within your Online Control Panel or call us on 0345 363 3634. Our Support team are here to help and ready to assist you with your enquiry.
For assistance raising a support request please follow the following guide.