How to Manage Orders
Info: This article applies to Website Builder purchases made after 14th January 2025. For further assistance, please contact our support team.
In this article, we will explain how to manage orders in your online store. After a customer places an order through the site, you will receive a notification. The next step is to wait for the payment to be received. Once the payment is confirmed, you can mark the order as paid and proceed with shipping. After shipping, you can mark the order as fulfilled. Below, we will walk through each step in detail.
Getting Started
To get started, you first need to log into the web builder through your Online Control Panel. Unsure how to do so? Follow our guide HERE
Once a customer confirms their order, you’ll receive an email notification indicating that an order has been placed in your online store.

Managing Orders
The first method to manage this order would be to click the link at the bottom of the notification email.

Alternatively, you can access the order management page through your My Projects page by selecting your online store. From your store’s settings page, click on Orders to view and manage them.

Editing an Order
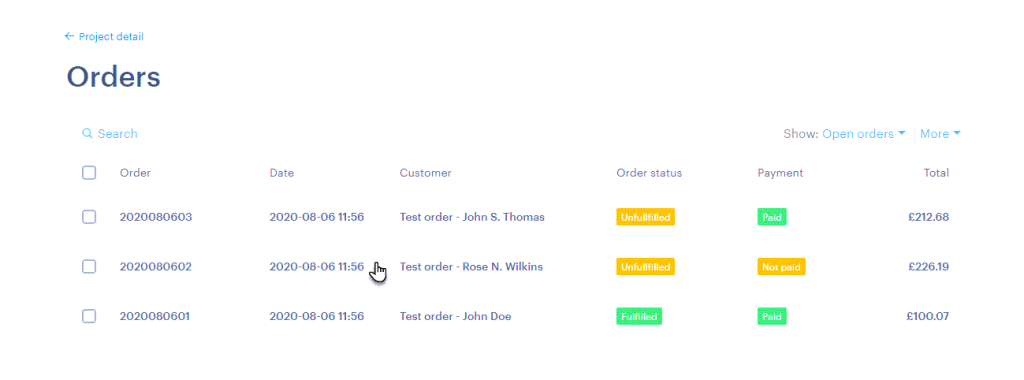
If you wish to edit a specific order, first select it from the list.
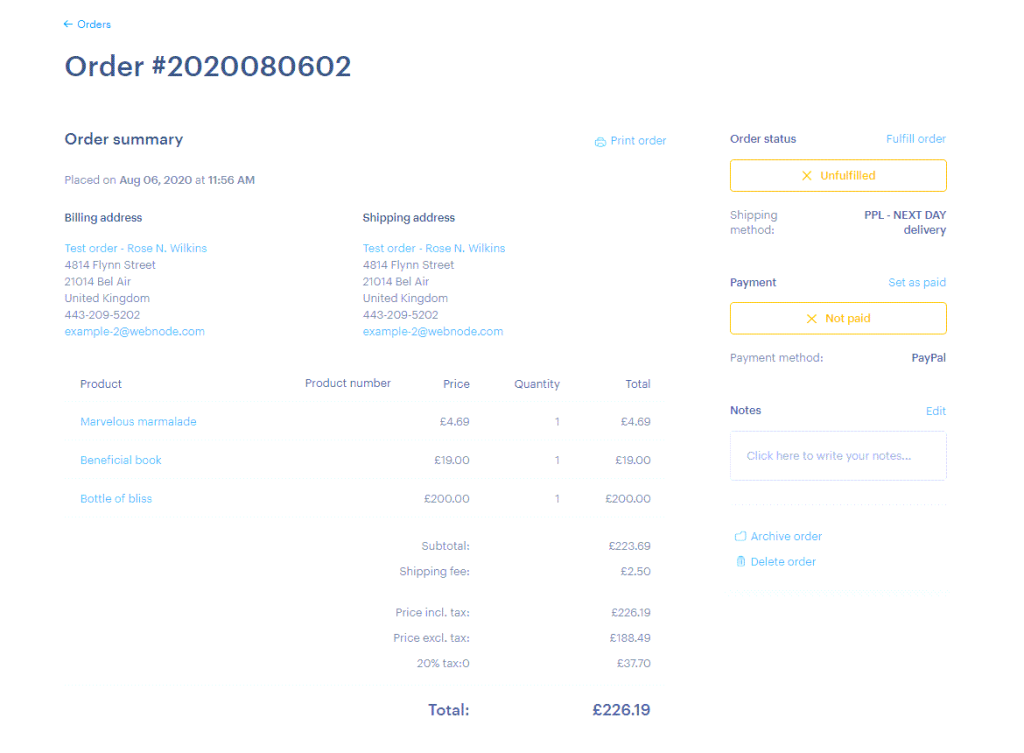
The order details will open, allowing you to manage various aspects of the order.
Marking Orders
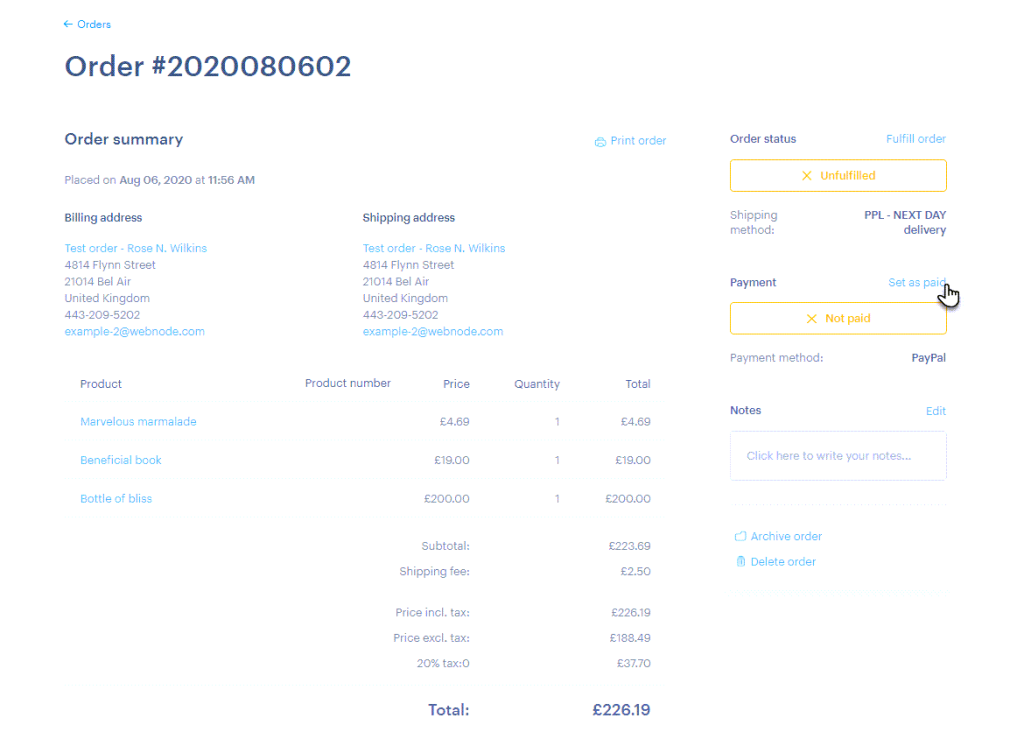
When your customer’s payment is received, you can mark the order as paid by clicking Set as Paid.
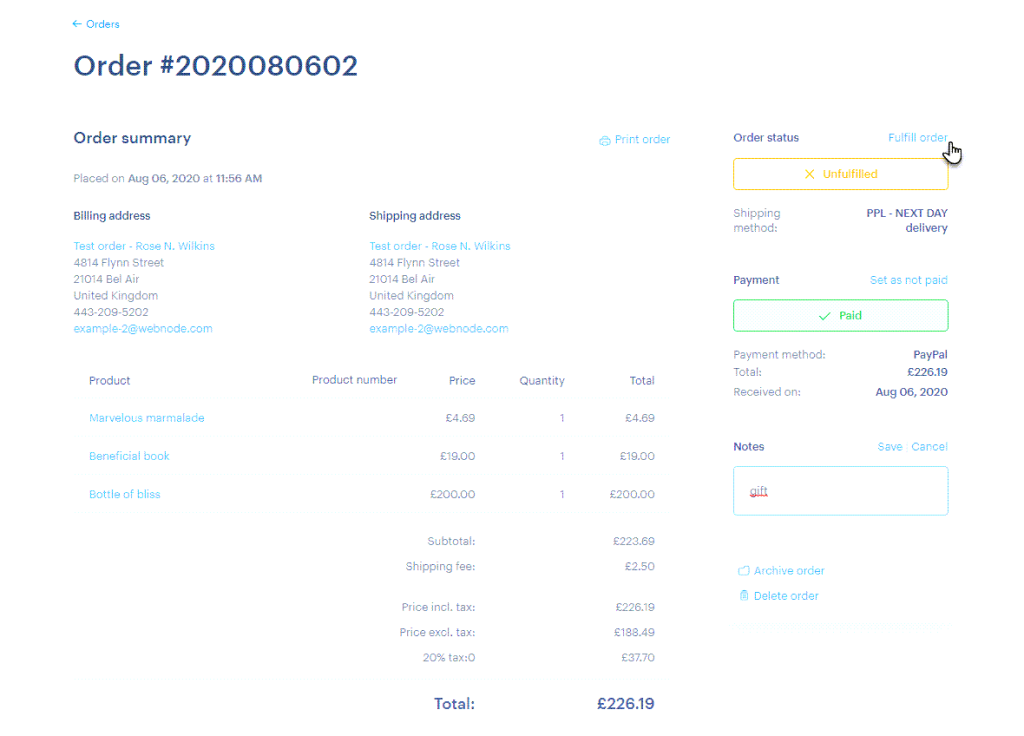
After updating the payment status, the amount received, and the date of the change will be displayed. If necessary, you can also revert the order to Unpaid.

The payment status needs to be updated manually, except for payments made through PayPal, which are updated automatically.
If your customer has special instructions for their order, you can add them in the Notes field. Be sure to click Save to keep your new note.

Once you receive payment, you can ship the goods to the customer. After sending the package, mark the order as fulfilled by clicking Fulfil Order.
Enabling Package Tracking
To enable tracking, first configure your shipping methods and enter the tracking URL along with the package number provided by the shipping company. The setup process will be similar across all your shipping partners.
In the same window, you can also check the box to notify your customer when their purchase has been shipped.

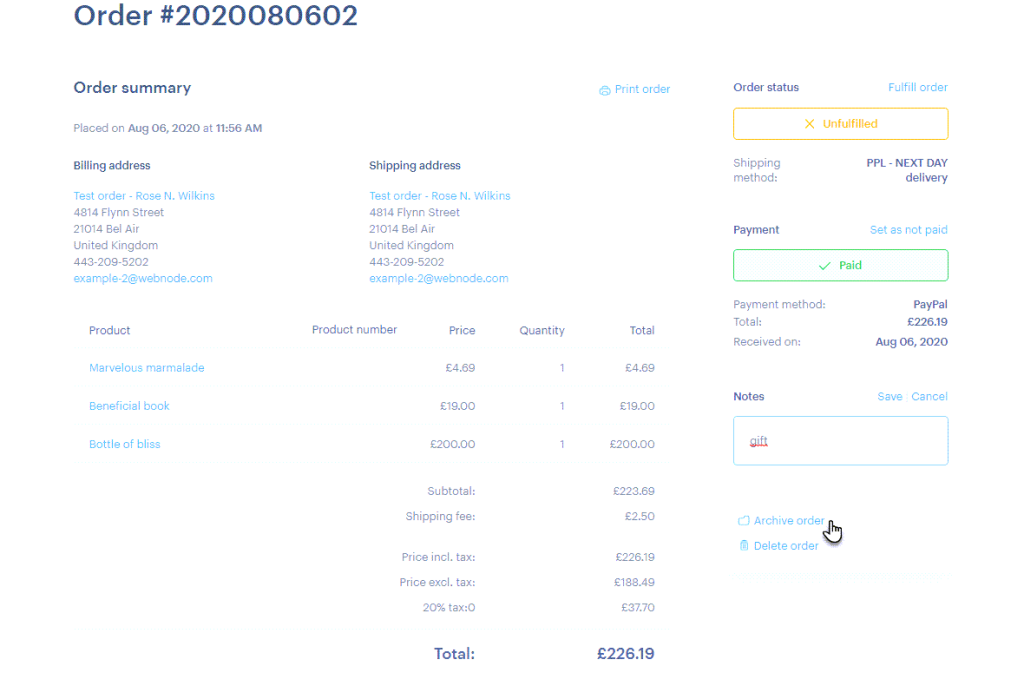
Once the order has been paid for, shipped, and marked as fulfilled, you can archive it by clicking Archive Order. This will move the order to the archive, and it will no longer appear in your open orders.
Deleting Orders
You can also delete orders by clicking Delete Order. Archiving is meant for fulfilled orders, while deletion should be reserved for cancelled or similar orders.
Printing Orders
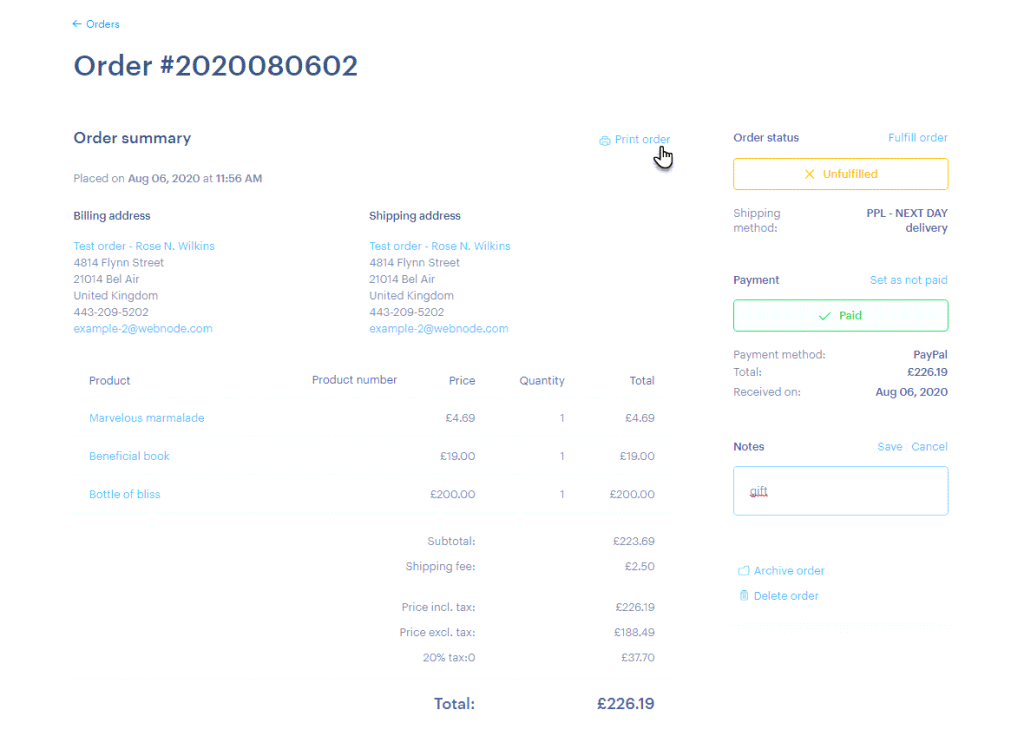
You can print the order by clicking Print order.
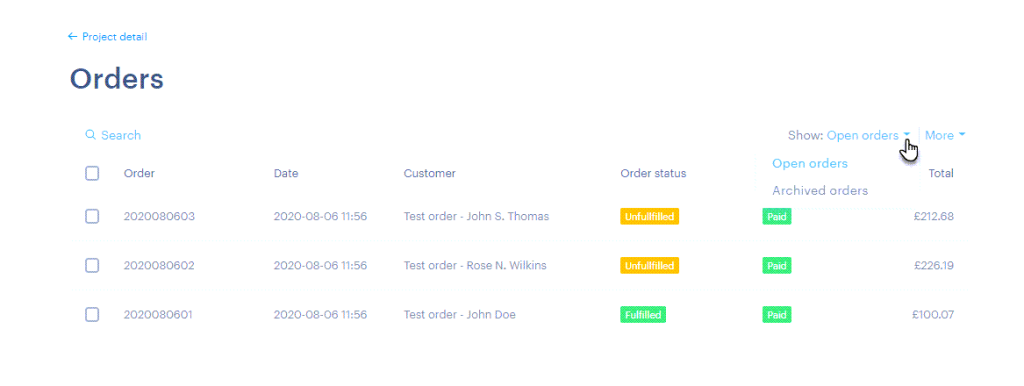
In the main orders menu, you can filter your orders by Open or Archived. To apply a filter, click the arrow on the right side of the Show text and select the option you wish to view.
Exporting Orders
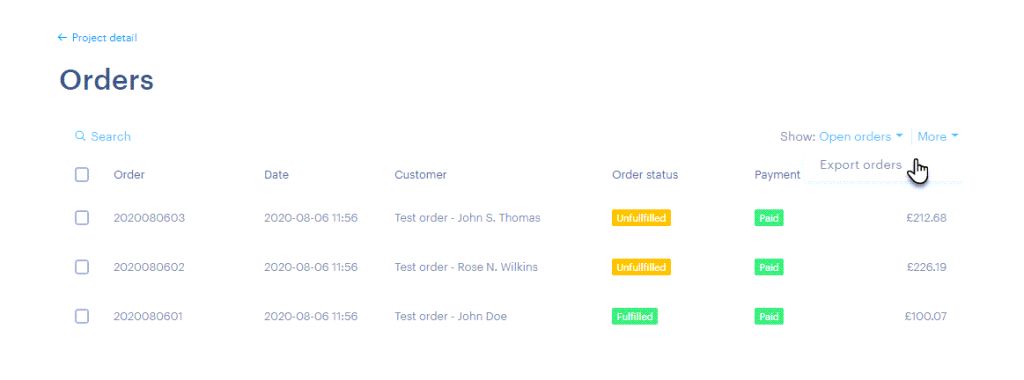
You can also Export orders at this point. Click More and Export Orders. The export is performed to a file in .XML format.
If you have any further questions, simply raise a support request from within your Online Control Panel or call us on 0345 363 3634. Our Support team are here to help and ready to assist you with your enquiry.
For assistance raising a support request please follow the following guide.