How to setup an Exchange account in Live Mail on Windows 7
This article will guide you through configuring your email on Live Mail on Windows 7
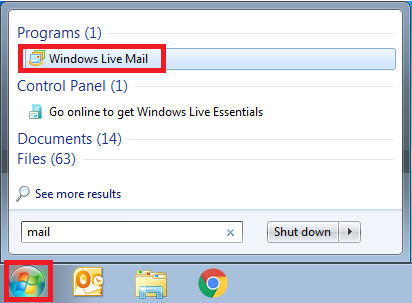
First select Start, type Mail, and select Windows Live Mail
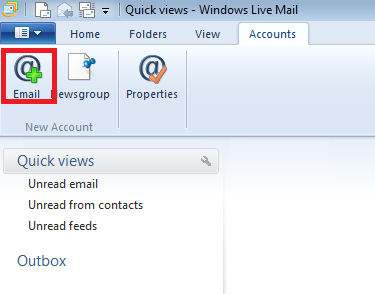
Select the Accounts Tab and click Email as shown below.
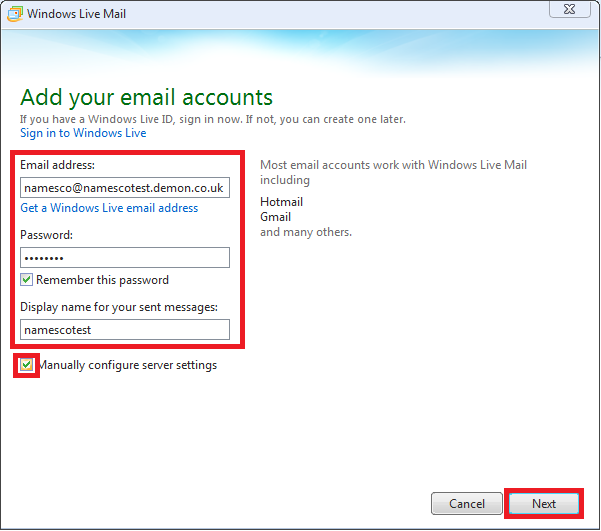
Fill out your email address and password, ensuring you tick Manually configure server settings, then click Next.
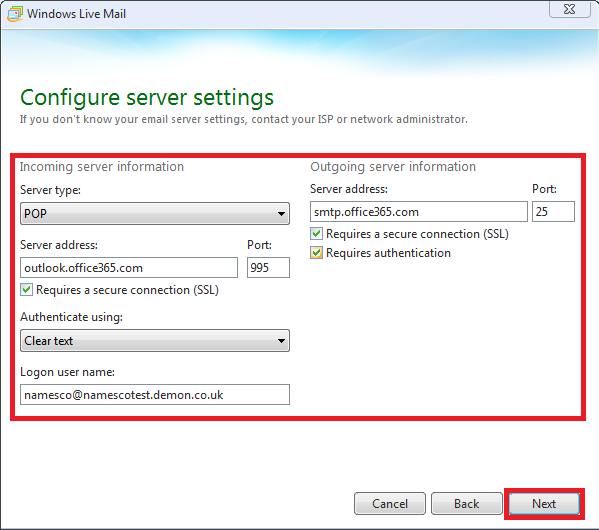
Incoming server information-
- Select Service type POP
- Server Address outlook.office365.com
- Port 995
- Tick SSL
- Authenticate using Clear text
- Username is your email address
Outgoing server information-
- Select Service type POP
- Server Address smtp.office365.com
- Port 25
- Tick SSL
- Tick Requires authentication
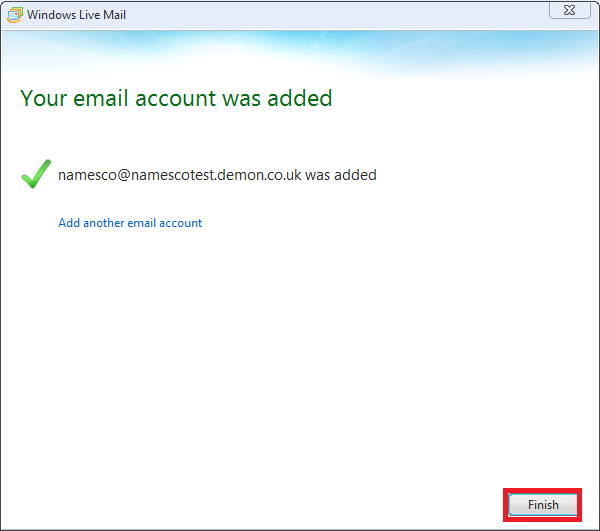
Click Next then Finish