How to use a blog on your Website Builder website
Info: This article applies to Website Builder purchases made before 14th January 2025. For further assistance, please contact our support team.
A blog is a great way of writing about specific subjects and encouraging your website visitors to share and discuss your ideas.
Tip: Read our own article on how a business blog can help improve your business.
In this step by step guide we’ll cover how to activate and use Website Builder’s built-in blog.
Activating the blog
The first step is to click on the Blog icon in the left hand menu of your Website Builder editor and click on the orange Add blog button.
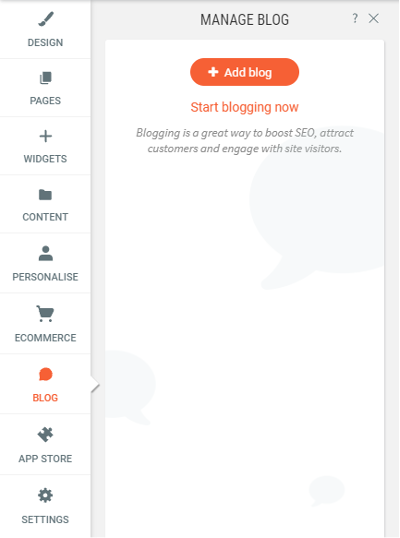
When you do this a new page called Blog will be created and added to your website’s navigation menu. You will automatically be taken to the Manage Blog screen and you will always be able to go there again by clicking on the Blog link in the left hand menu.
Creating & editing blog posts
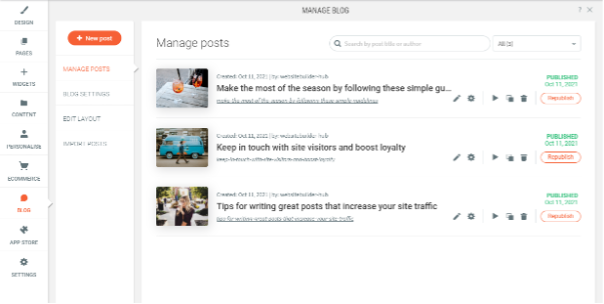
You will see that three blog posts have automatically been created for you and you may find it easier to create your first blog posts by editing these default ones.
Each blog post has a number of options beside it.

From left to right, these options are as follows:
- Edit the blog post
- Change various settings of the blog post. For example – the title, description and thumbnail image
- Preview the blog post, so you can see exactly what it will look like on the live website
- Duplicate the blog post. This will create an exact copy of the post which you can then edit to create a new one. If two blog posts share similar content then this may be the best way of creating the second post
- Delete the blog post
- Republish the blog post – for example, if it has been updated since it was first created
You can also create a brand new empty blog post by clicking on the orange New post button in the top left corner of the screen.
Info: Don’t forget to publish a post once you have created it, and also to re-publish the website itself.
Editing the blog layout
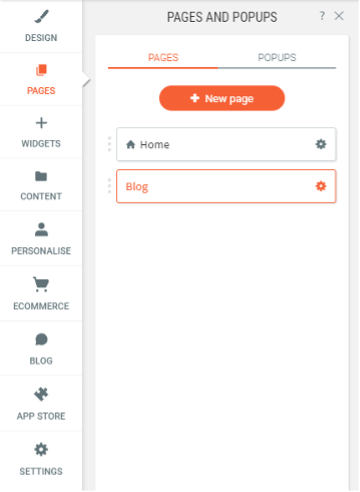
When you activated the blog Website Builder will automatically have created a page called Blog which displays the three default posts. You will see this page listed in the Pages section of the left hand menu.
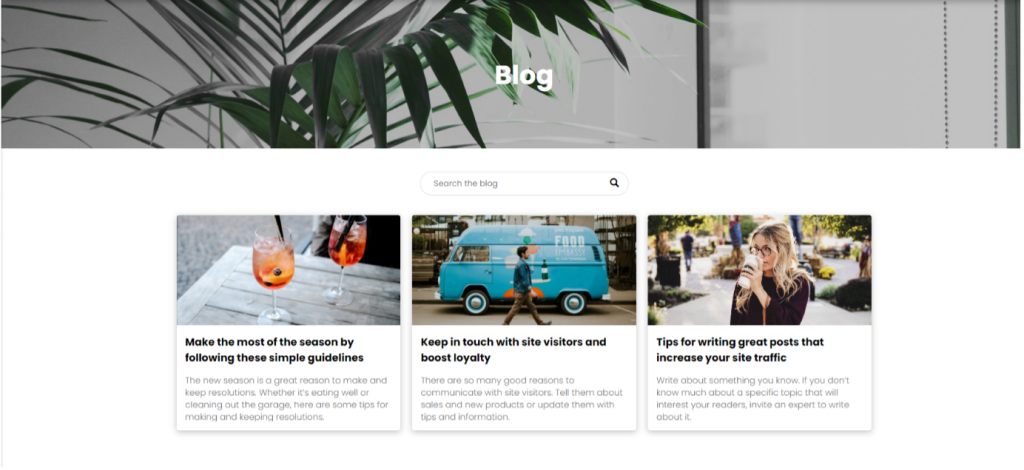
You can see that the three posts are laid out side by side, each one displaying the thumbnail image, and there is also a handy search bar that allows visitors to easily find a specific post.
Clicking on the posts will open a pop-up window that allows you to customise how they are displayed.
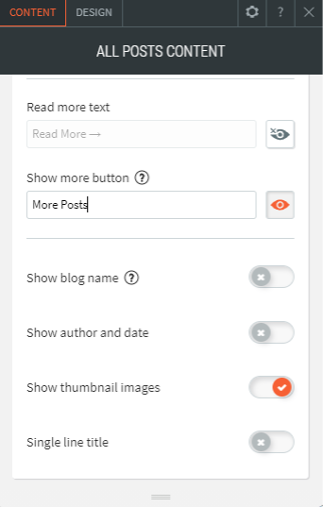
Here you can control settings such as the display of the thumbnail images and the publishing date.
Clicking on Design at the top offers various layout changes.
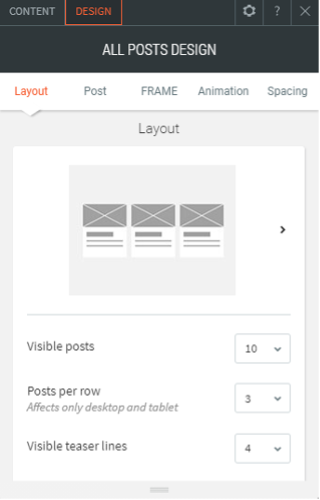
Here you can control settings such as the number of displayed blog posts and how they are arranged.