SiteMaker: The Basics 3. Inserting Text
Note: If you have purchased your SiteMaker package after the 4th June 2013 you will be using our new version of SiteMaker.
The new version creates a website in HTML5 rather than flash, making our SiteMaker website viewable on many popular phones and tablet devices.
Because of this some of the Support Centre articles may not apply to your SiteMaker configuration. To make it easier we have appended all relevant articles with HTML5 to make it easier for you to find your desired guide.
This guide will show you how to insert objects to your SiteMaker website, whether they are text or pictures.
Our previous guides have shown you how to access the ‘Page Master‘ and edit the title of your website as well as editing your menu. Its now time to working on the main look of your SiteMaker website.
Click on Insert from your toolbar. This will activate a new menu of objects on the left side of your screen.
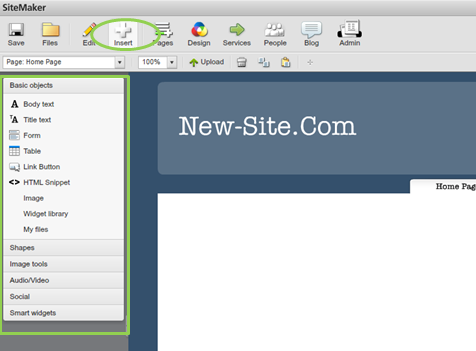
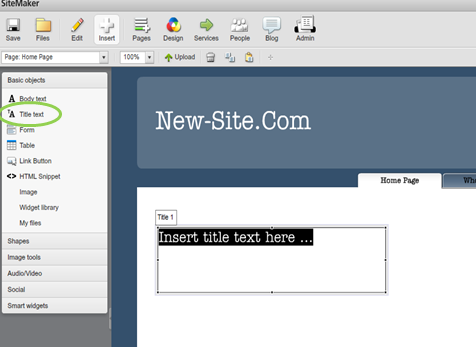
To Insert a title into the main body of your website, click Title Text. Double click on the ‘Title Text’ box to enter your text.
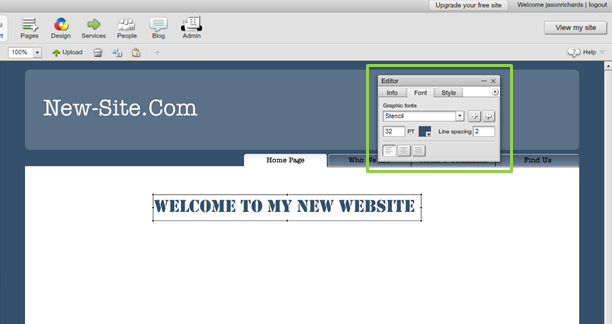
You can reposition your title by dragging the ‘Title Text’ box into place. To change the style of your font, use the ‘Editor’ toolbox. Here you will be able to change the type of font as well as size and colour.
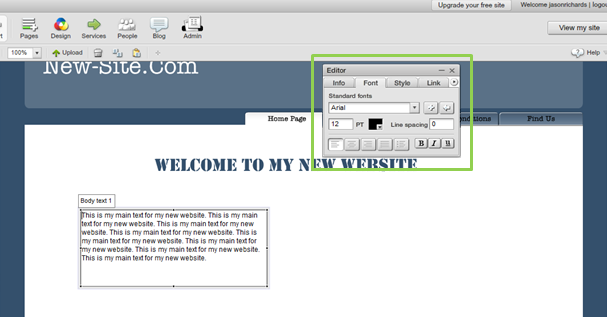
To enter your main text, repeat the process this time selecting Body Text.
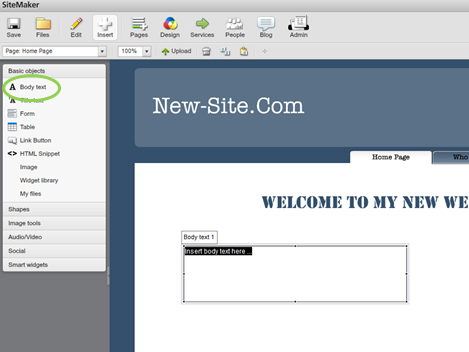
You can use the ‘Editor’ toolbox to change the style of your text.
